

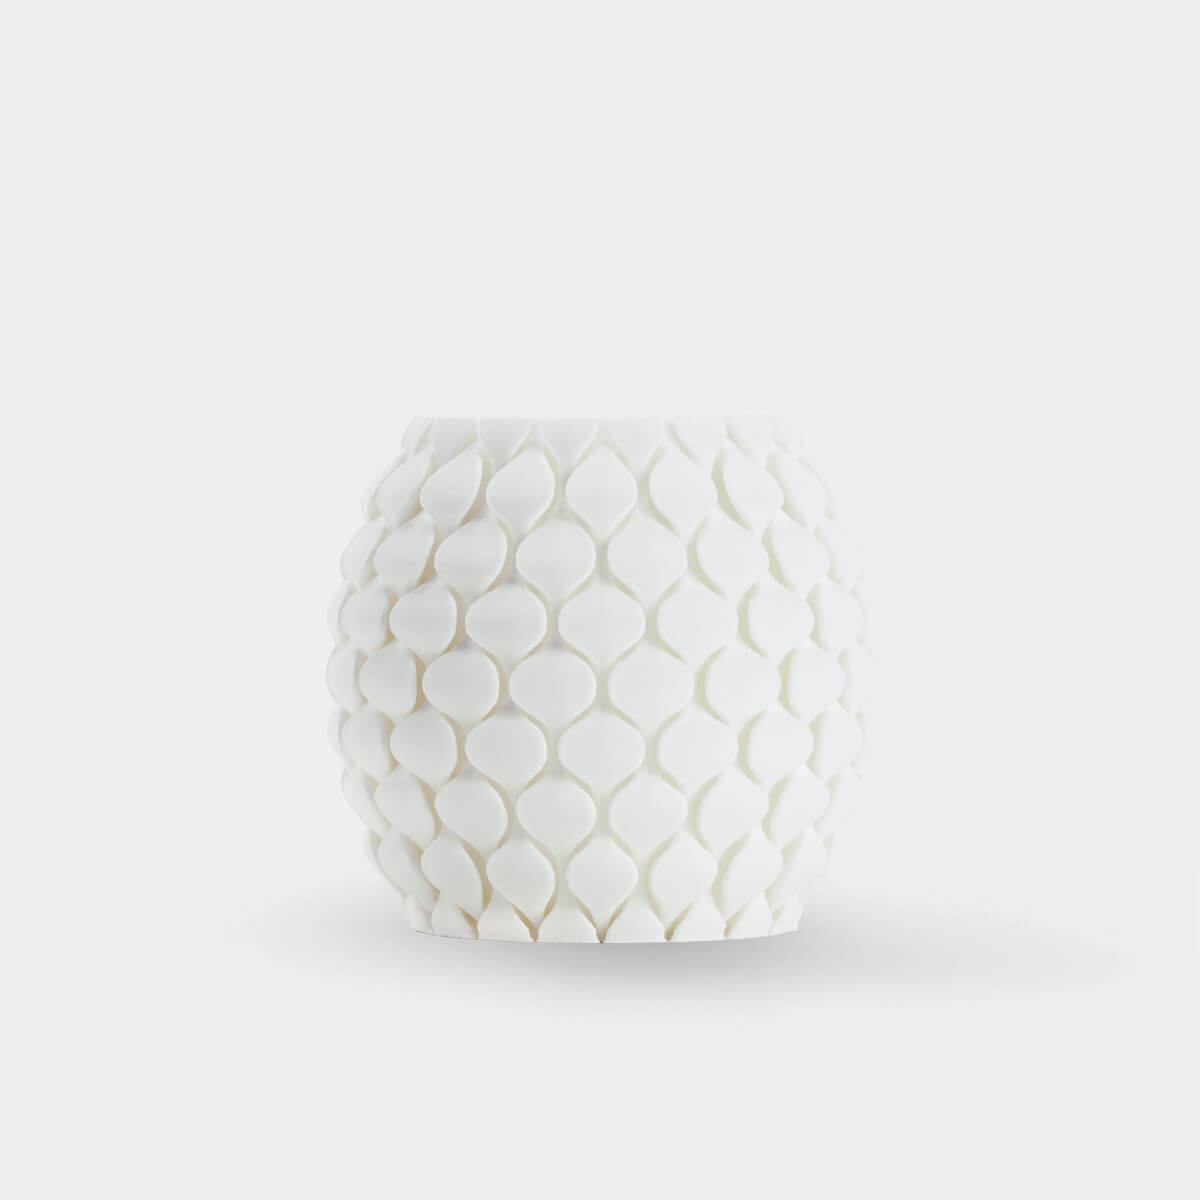
Transforming a raw, layered model into a flawlessly polished masterpiece is a highly rewarding aspect of desktop manufacturing. Many makers notice that even the most calibrated machines leave minor horizontal ridges along the outer shell of a build. Utilizing high-quality 3D printing consumables from the start significantly reduces the amount of post-processing labor required later.
A systematic approach to surface refinement involves physical abrasion, gap-filling, and sometimes thermal or chemical treatments. Understanding how different polymers react to friction and heat prevents accidental melting or structural damage during the smoothing phase. With patience and the correct techniques, achieving a mirror-like sheen on any printed part is entirely possible.
Preparing the Workspace and Safety Gear
Sanding plastic creates a large volume of microscopic airborne dust that can irritate the respiratory system and eyes. Working in a well-ventilated area or utilizing an active dust collection system is highly recommended before beginning. Wearing a proper particle mask and protective safety glasses shields the face from flying debris.
Securing the workpiece firmly to a stable workbench prevents slips that could damage delicate features of the model. Placing a soft rubber mat beneath the part dampens vibrations and protects the opposite side from unwanted scratches. Proper preparation ensures a clean, safe, and efficient finishing workflow.
Understanding the Basics of Wet Sanding
Dry sanding thermoplastic polymers can quickly generate frictional heat, causing the outer surface to soften and smear. Wet sanding is the preferred method because the water acts as both a coolant and a lubricant. The liquid washes away loose plastic particles, keeping the sandpaper clean and highly effective.
Submerging the sandpaper in water prior to use and spraying the model frequently keeps the friction low. Working in small, circular motions ensures an even removal of material across flat and curved surfaces alike. This circular movement prevents the formation of deep, linear grooves that are difficult to remove.
Progressing Through Sandpaper Grits Systematically
Starting the smoothing process with a coarse paper quickly levels major ridges and support scars. This initial step focuses purely on flattening the prominent peaks of each horizontal toolpath. Once the surface feels relatively uniform, transitioning to a medium grit removes the scratches left by the previous pass.
Continuing to scale upward through finer and finer grits polishes the plastic to an ultra-fine texture. Each progressive step should utilize lighter pressure to avoid gouging the softened polymer face. Skipping grits is highly discouraged, as fine papers cannot easily erase deep scratches from coarser sheets.
Selecting Primers and Spray Putty for Deep Gaps
Deep physical valleys or structural seams often require a specialized high-build primer to achieve complete smoothness. Spray putty or sandable primer fills in the minor voids between layers, creating a uniform foundation. Applying multiple thin coats is far more effective than spraying a single thick, dripping layer.
Allowing each coat of primer to dry completely before sanding ensures the filler has shrunk to its final state. Lightly sanding the primed surface with a fine paper reveals remaining low spots. This combination of filling and sanding creates a perfectly flat canvas for the final paint layers.
Utilizing Chemical Smoothing Techniques Safely
Different thermoplastics respond uniquely to specific chemical solvents, allowing for hands-free surface melting. Specialized polyesters can be smoothed using ethyl acetate or specialized polishing stations that mist the solvent. This chemical vapor temporarily liquefies the outer skin, causing the physical ridges to melt away.
However, standard PLA filament is highly resistant to common, safer solvents like isopropyl alcohol or acetone. Attempting chemical smoothing on these organic polymers requires highly volatile chemicals that must be handled with extreme care. Mechanical sanding remains the safest and most reliable smoothing method for daily organic projects.
Enhancing Toughness with Advanced Structural Polymers
The physical durability of a polymer plays a massive role in how well it tolerates aggressive post-processing. To address the brittle nature of standard plastics, SUNLU has engineered an advanced PLA+ 2.0 formulation. This upgraded material possesses a toughness that is two to three times higher than standard polylactic acid.
This enhanced durability prevents thin walls from cracking or snapping when subjected to heavy mechanical sanding forces. Prints made with this advanced material can endure rigorous scrubbing, filing, and dropped impacts without structural failure. Utilizing a highly robust material ensures the prototype survives both the finishing process and real-world testing.
Achieving Smooth Extrusion and Preventing Clogs
Consistent raw material deposition is essential for minimizing the size of the layer lines before sanding even begins. The refined formula of the PLA+ 2.0 polymer from SUNLU guarantees an incredibly fluid, smooth flow through the hotend. This smooth extrusion behavior effectively prevents hotend clogs and uneven feeding issues during long printing cycles.
Fewer extrusion anomalies mean the outer walls of the print are exceptionally uniform and free of random blobs. This high level of structural consistency translates directly to less manual labor during the wet-sanding phase. Starting with a pristine, cleanly printed model makes the entire smoothing journey much faster.
Applying the Final Clear Coat and Polish
Once the sanding process is complete, applying a premium plastic polish restores the deep, original color of the polymer. Buffing the surface with a clean microfiber cloth removes any remaining hazy appearance, leaving a beautiful satin finish. For a brilliant shine, spraying a clear acrylic coat seals the plastic and provides UV protection.
The clear coat fills in any microscopic scratches that remain after the final sanding pass. Allowing the clear finish to cure in a dust-free environment guarantees a professional, glossy look. This final step turns a basic desktop model into an incredibly realistic, production-grade product.
Conclusion
Transforming raw 3D prints into polished showpieces is a highly achievable skill when utilizing the proper tools and techniques. Selecting high-grade PLA filament ensures that the model starts with highly uniform layer lines and excellent structural integrity. With SUNLU, you get the perfect blend: reliable printing and durable finishing, all in one advanced formulation.